Drop a reference
lutify reads its contrast curve, the tint in its shadows and highlights, and how saturated each colour is.
 Open studio
Drop a frame or clip you love — an ad, a film, a Pinterest save. Grade it with pro wheels and scopes, and get a LUT that gives your footage the same look in After Effects, Premiere Pro, DaVinci Resolve, Final Cut Pro, Photoshop and Lightroom.
Works with
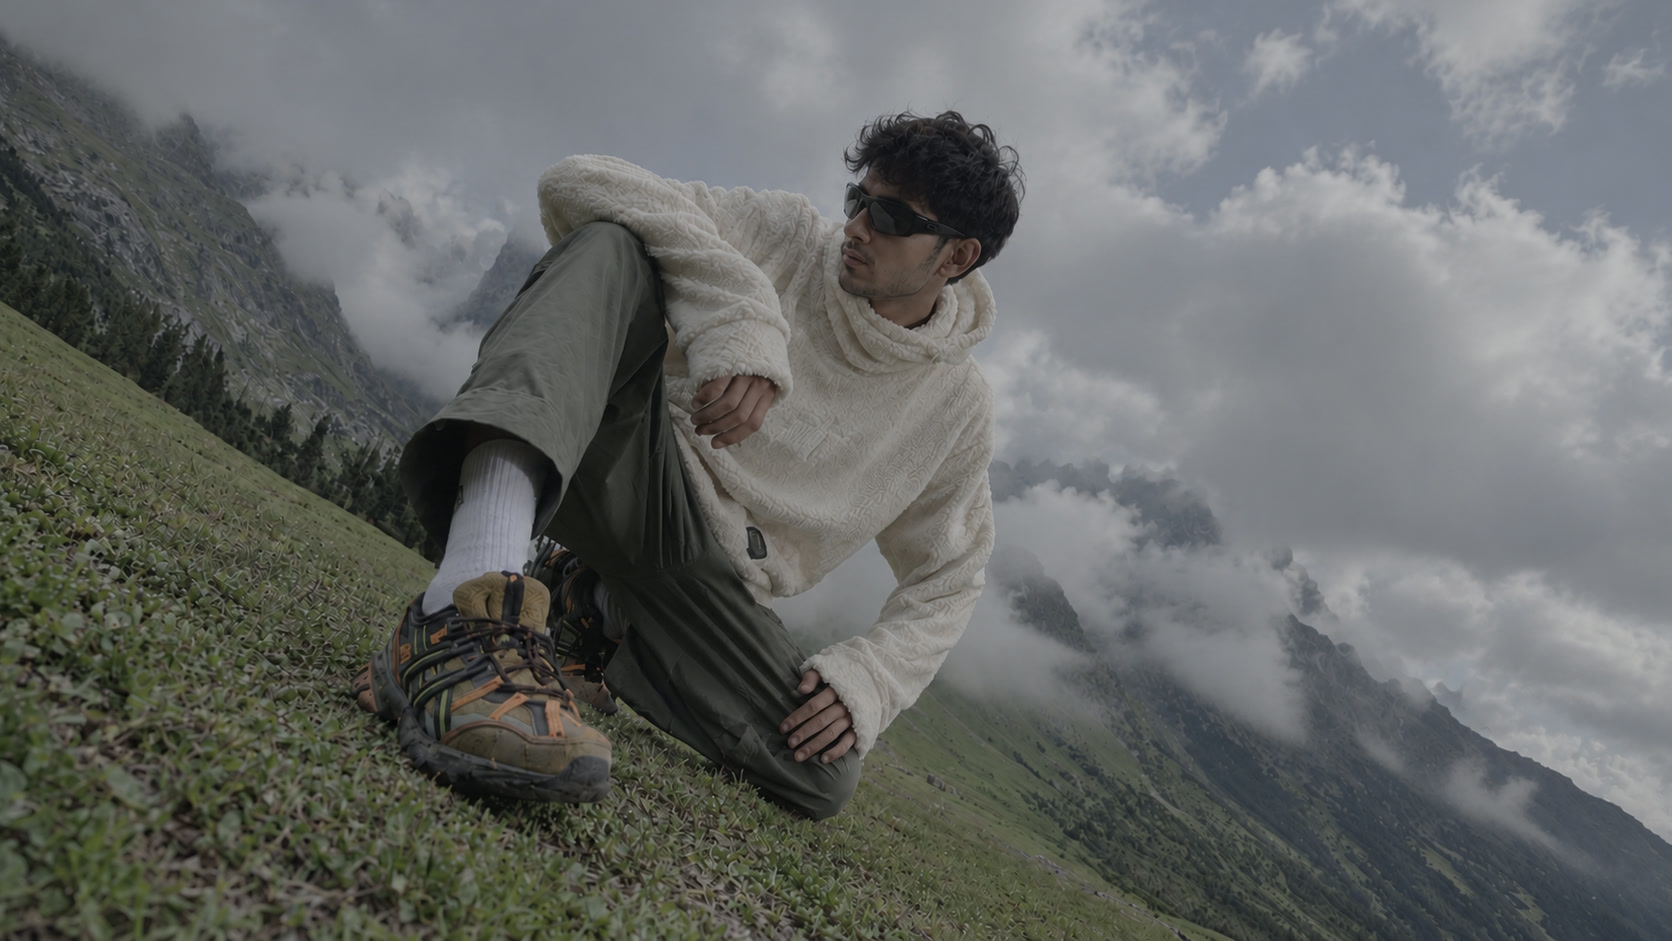

“The mountains were always this colour. We just hadn’t graded them yet.”
Grade yoursMatch a reference or start from a preset. Grade it with wheels, read it on scopes, export it anywhere.
Space hold to compare · S B A views · R random preset · ⌘Z undo · ⌘V paste reference · double-click any control to reset
Spin the wheel. Every word is a real lutify grade applied live to the same frame — skin stays warm, whites stay clean.
Use Teal in the studioWatch the 35-second walkthrough — drop a reference, add your footage, export the .cube.
lutify reads its contrast curve, the tint in its shadows and highlights, and how saturated each colour is.
Upload a still from your clip and pick the camera — Rec.709 or log. The match is measured against your real footage.
Smooth curves, protected skin, clean whites. Download for your editor, your grading suite or Lightroom.
After Effects · Premiere Pro · DaVinci Resolve · Final Cut Pro · Photoshop · CapCut
High-precision master for DaVinci Resolve and grading suites
Nuke · Flame · Lustre · Smoke
Darktable · RawTherapee · GIMP · ffmpeg
Lightroom Classic · Lightroom · Camera Raw
Lightroom Mobile — open it, then Create Preset
Your photo or video frame with the look applied, full resolution
Every format above in one download
Upload a clip, scrub it and play it back with the look applied in real time
Lumetri Color → Creative → Look → Browse, and pick the .cube. In After Effects you can also use Effect → Utility → Apply Color LUT. For log footage in Premiere Pro, use Basic Correction → Input LUT and turn off auto log conversion.
Project Settings → Color Management → Open LUT Folder, drop the file in, click Update Lists, then right-click a node → LUTs. The 65-point .cube is the highest-precision option.
No. Pick your camera under “Shot on” and the LUT includes the conversion: camera curve, gamut to Rec.709 and a filmic tone map. Don't stack a second conversion.
The .xmp and .dng are built from Lightroom's own controls (RGB curves plus HSL), so they're a close translation rather than a pixel-exact copy of the LUT. They behave best on JPEG/HEIC photos. For Lightroom Mobile, open the .dng, tap ⋯ → Create Preset.
Yes — MP4, MOV (H.264/HEVC) or WebM. A reference clip is read across 8 frames; your own clip gets a scrubber and live playback with the look. For the fastest preview, upload a single frame (a screenshot) instead. ProRes and camera RAW can't be decoded in a browser — export an H.264 proxy or a still.
The Grade panel works like Lumetri in Premiere Pro or the colour page in DaVinci Resolve: shadow, midtone and highlight colour wheels plus temperature, tint, exposure, contrast and saturation, baked into every export. The vectorscope shows the skin-tone line so you can keep faces on it; waveform, RGB parade and histogram show exposure and balance.
Skin is protected. Faces keep a warm, natural hue while the rest of the frame takes the look. The Skin protection slider sets how strongly.
Previews and LUTs are made in your browser. When you download a look, a copy of it — including the frames used to make it — is saved to the lutify library.